Engineering takeaway
Treat the model, drawing, material specification, finish, and inspection plan as one production package. The best result comes from resolving tradeoffs before the part reaches the machine.
01
Match the process to the part’s purpose
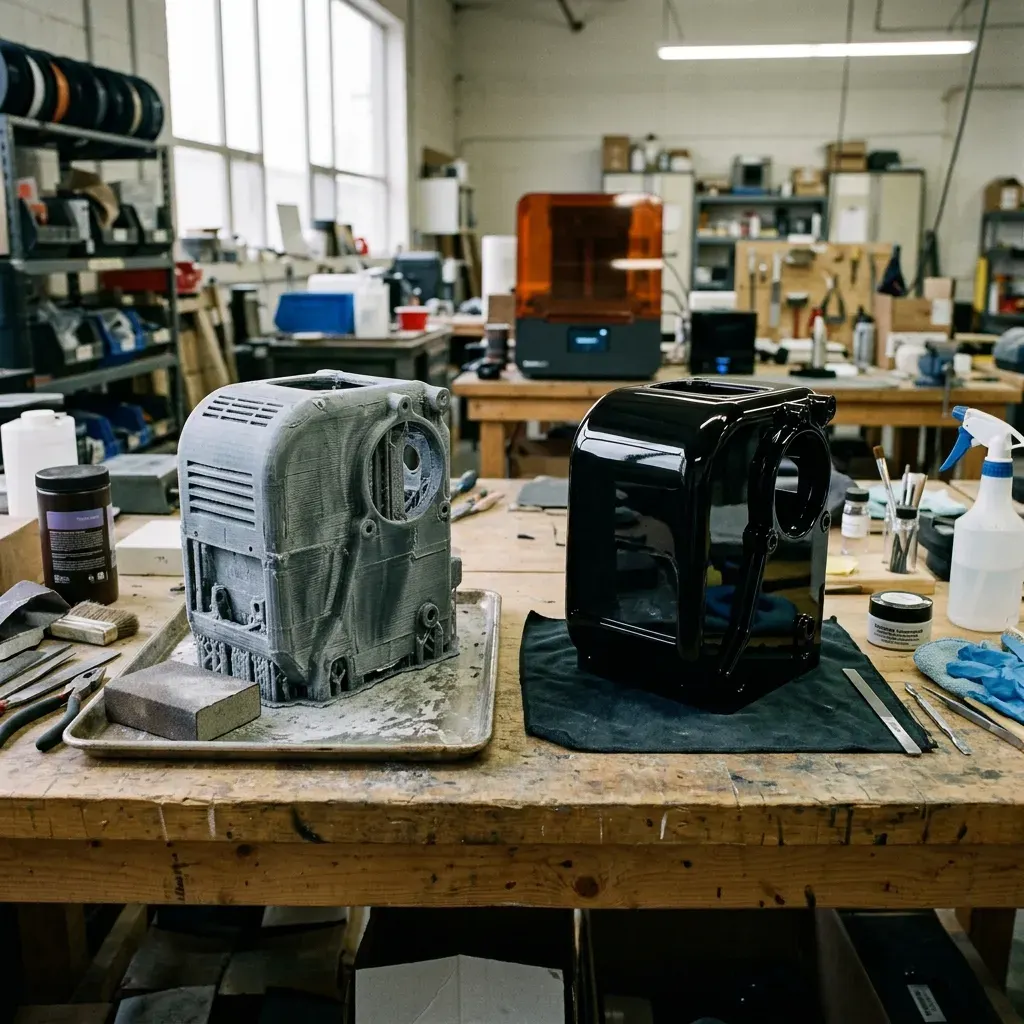
3D Printing Post Processing Finishing starts with the intended use: visual model, fit-check prototype, tooling aid, or end-use component. That decision drives the process, material, layer strategy, and validation plan.
02
Design for orientation and support
Build direction affects strength, surface quality, support demand, and dimensional behavior. Orient critical interfaces deliberately and provide enough access for support removal and inspection.
- Functional interfaces identified
- Critical dimensions prioritized
- Material and finish specified
- Inspection needs documented
03
Account for post-processing
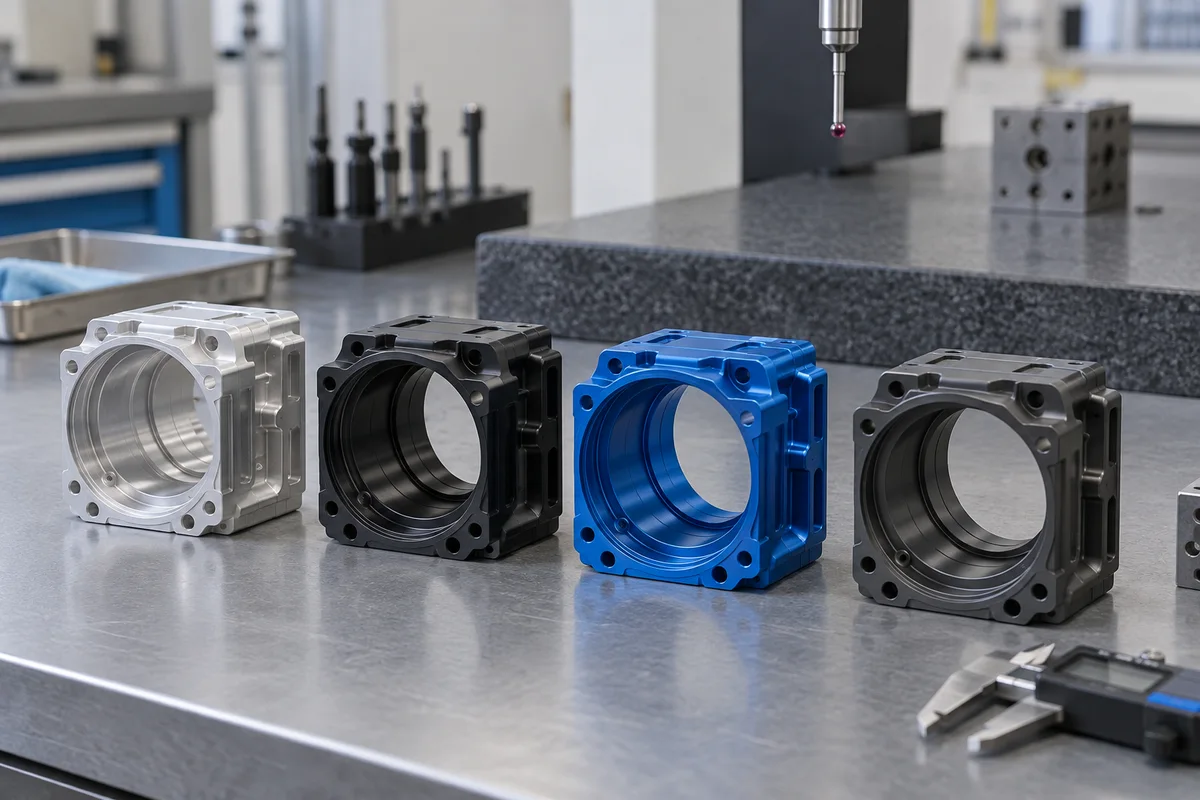
Cleaning, curing, blasting, machining, dyeing, sealing, and coating can materially change the finished part. Include those operations in the design and tolerance strategy rather than treating them as cosmetic extras.
04
Prepare a production-ready package
Share the 3D model, functional surfaces, quantity, material, color, finish, tolerance priorities, and acceptance criteria. Flag features that must remain free of supports or witness marks.
Manufacture with clarity
Ready for an engineering review?
Upload your CAD file and share the material, quantity, finish, and critical requirements. Our team will review the actual project data before production.
Get an Instant Quote